Why Edible Crafts Are the Ultimate Win
Craft time that ends with a snack? Yes, please.
Whether you’re entertaining a group of kids, filling a rainy afternoon, or just want to keep little hands busy (without pulling out the glitter), edible crafts are where it’s at.
Bonus: fewer broken crayons, more happy tummies.
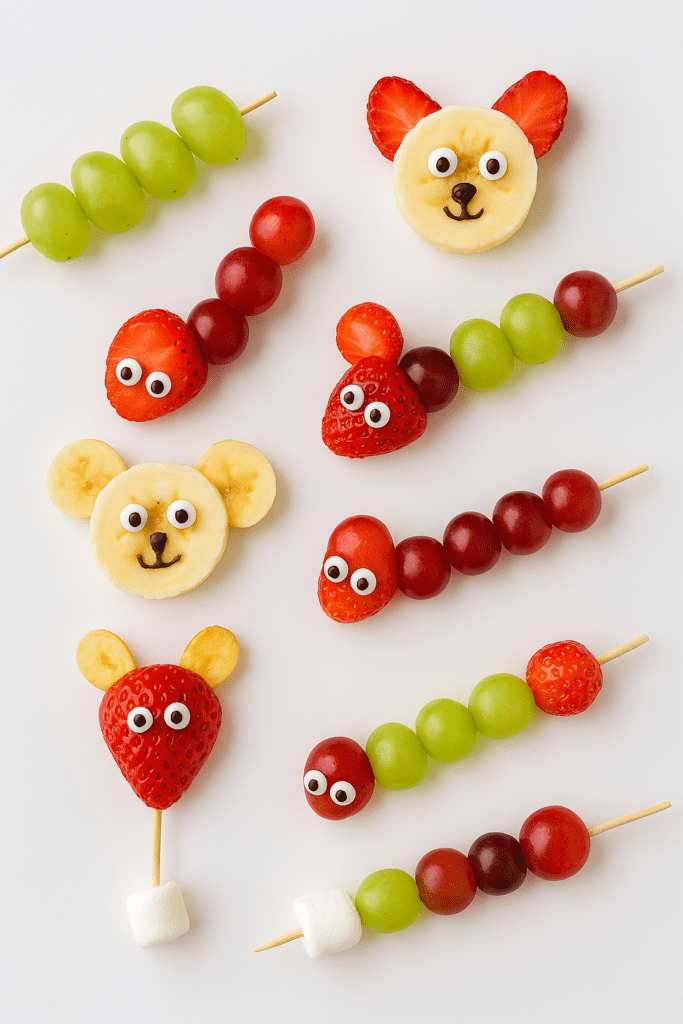
1. Fruit Kabob Animals
Ages: 3+
Allergy Note: Use allergy-friendly nut butters or skip
Mess Level: Low
Supplies Needed:
- Skewers or cut straws
- Grapes, strawberries, banana slices, blueberries
- Mini marshmallows or candy eyes
- Peanut butter or chocolate spread
Instructions:
- Slice fruits into fun shapes.
- Thread onto skewers to make caterpillars, snakes, or silly faces.
- Use a dab of peanut butter to attach candy eyes.
Craft + Learn Tip: Talk about colors and counting as kids build their “fruit friends.”
Storage Tip: Best eaten fresh. Keep extras covered in the fridge for up to 1 day.
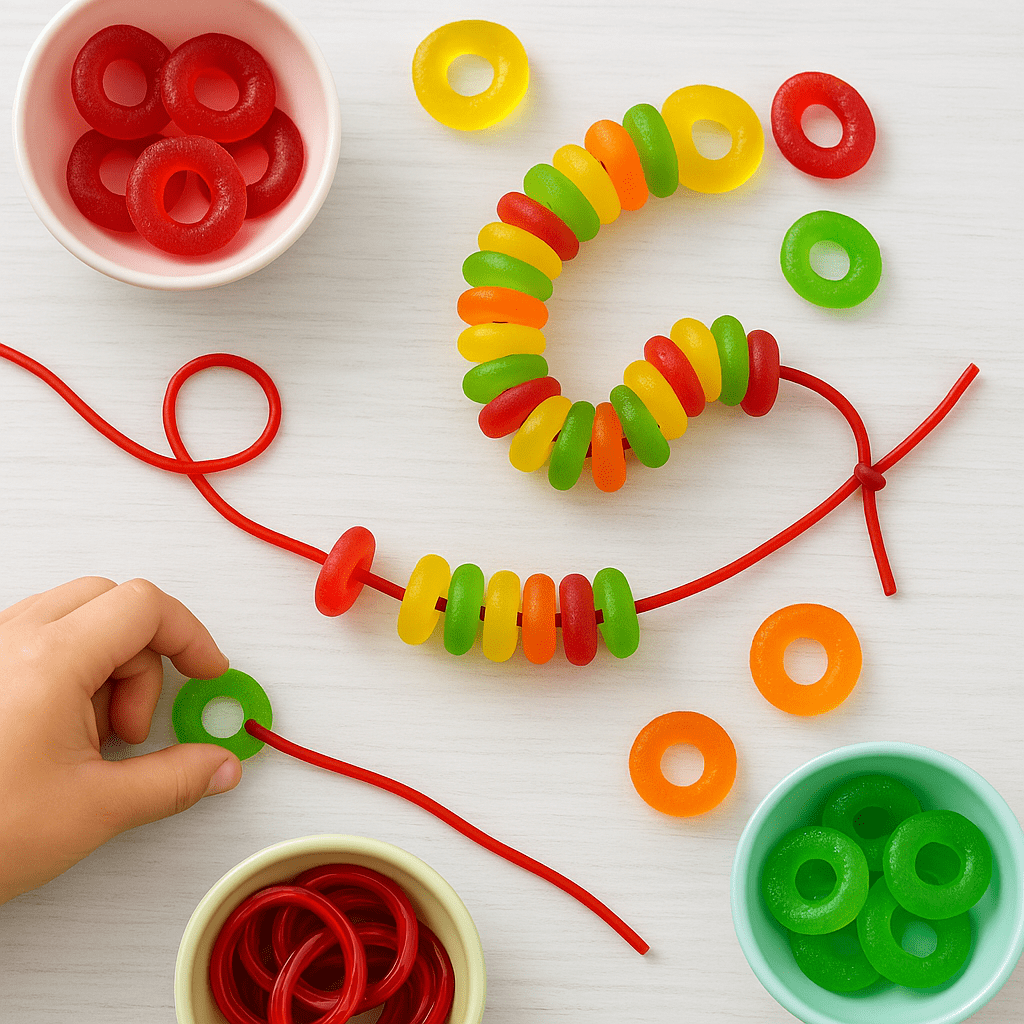
2. Gummy Candy Jewelry
Ages: 5+
Allergy Note: Check candy ingredients for gelatin or dyes
Mess Level: Medium
Supplies Needed:
- Gummy Lifesavers or fruit rings
- Licorice laces or string candy
Instructions:
- Thread gummy candies onto licorice.
- Knot the ends to form bracelets or necklaces.
- Show off (then snack).
Craft + Learn Tip: Practice patterns or color sorting while creating.
Storage Tip: Make right before eating—candy may get sticky over time.
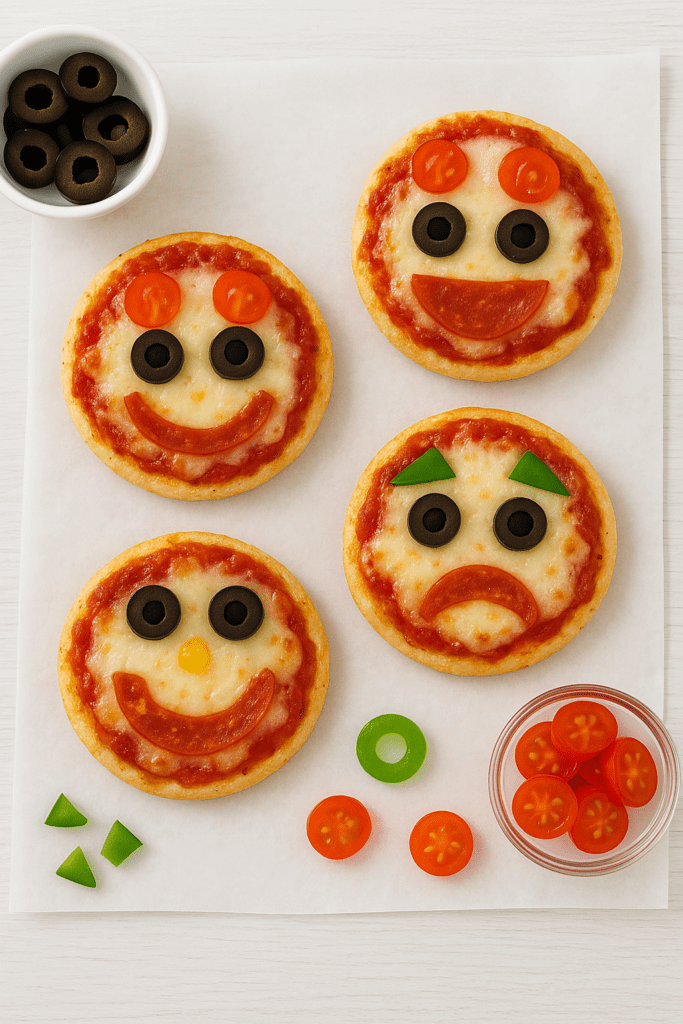
3. Mini Pizza Faces
Ages: 4+ with supervision
Allergy Note: Use gluten-free bagels or dairy-free cheese as needed
Mess Level: Medium
Supplies Needed:
- Mini bagels or English muffins
- Pizza sauce
- Cheese, pepperoni, olives, bell peppers
Instructions:
- Spread sauce over bagel halves.
- Use toppings to create silly faces.
- Toast in the oven for 5 minutes.
Craft + Learn Tip: Talk about shapes while arranging toppings.
Storage Tip: Refrigerate extras and reheat in a toaster oven.
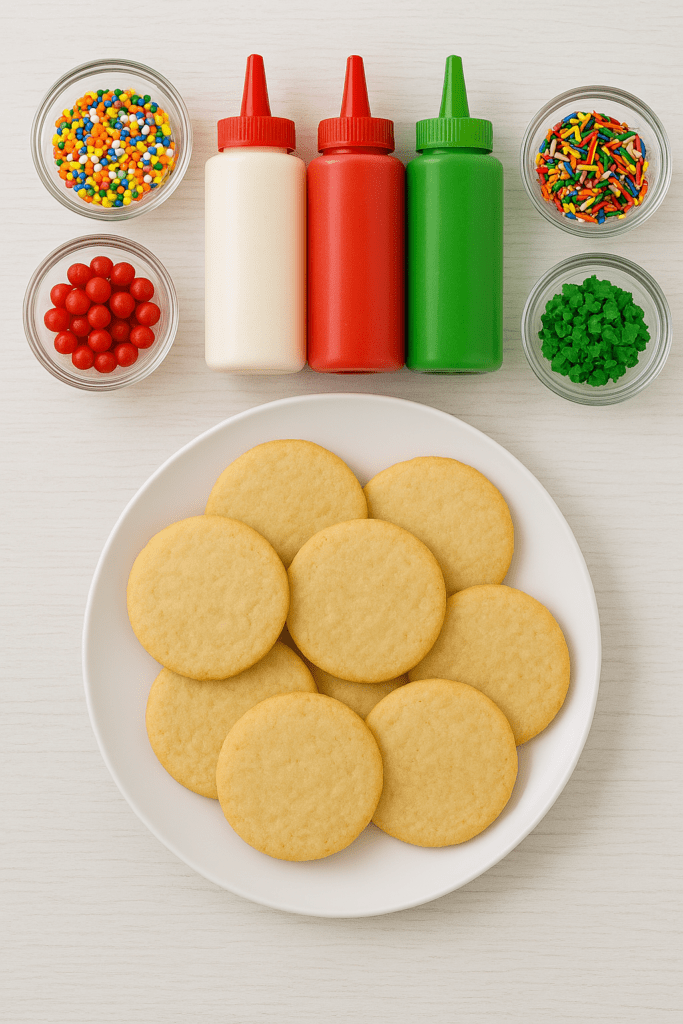
4. Cookie Decorating Station
Ages: All ages (great for groups)
Allergy Note: Use allergy-safe cookies and frosting
Mess Level: High
Supplies Needed:
- Sugar cookies
- Icing in piping bags
- Sprinkles, candy, mini marshmallows
Instructions:
- Set up a “craft station” with different toppings.
- Let kids go wild decorating.
- Eat now or later (good luck waiting!).
Craft + Learn Tip: Encourage kids to “design” a theme—like animals, holidays, or emojis.
Storage Tip: Store in airtight containers for up to 3 days.
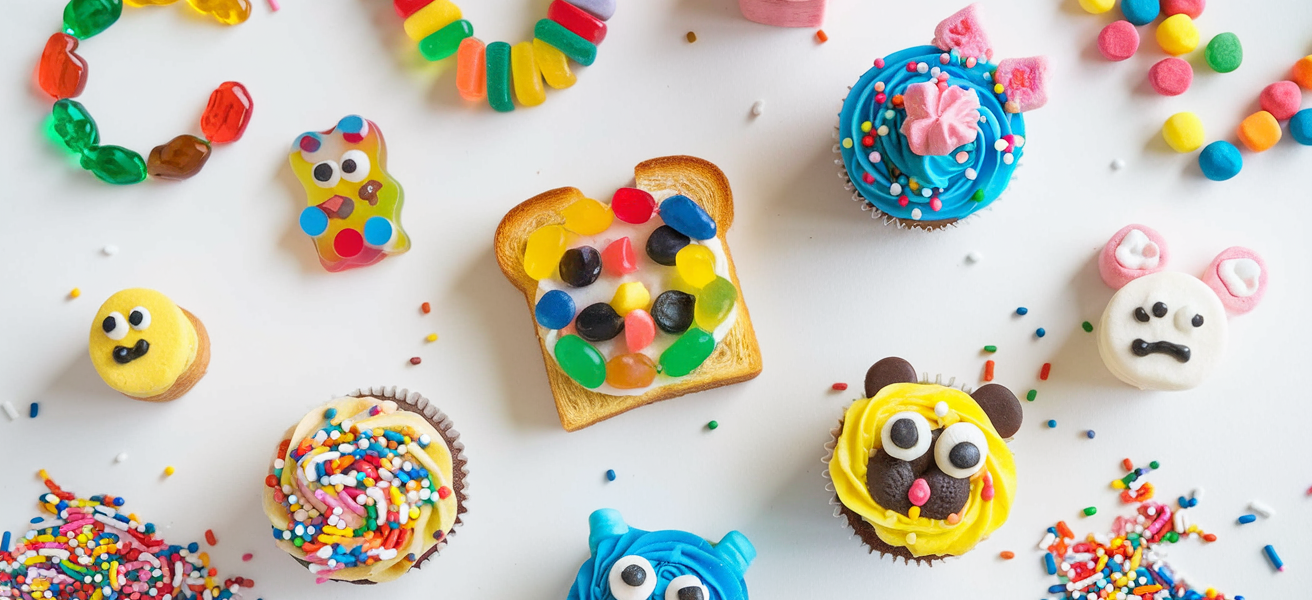
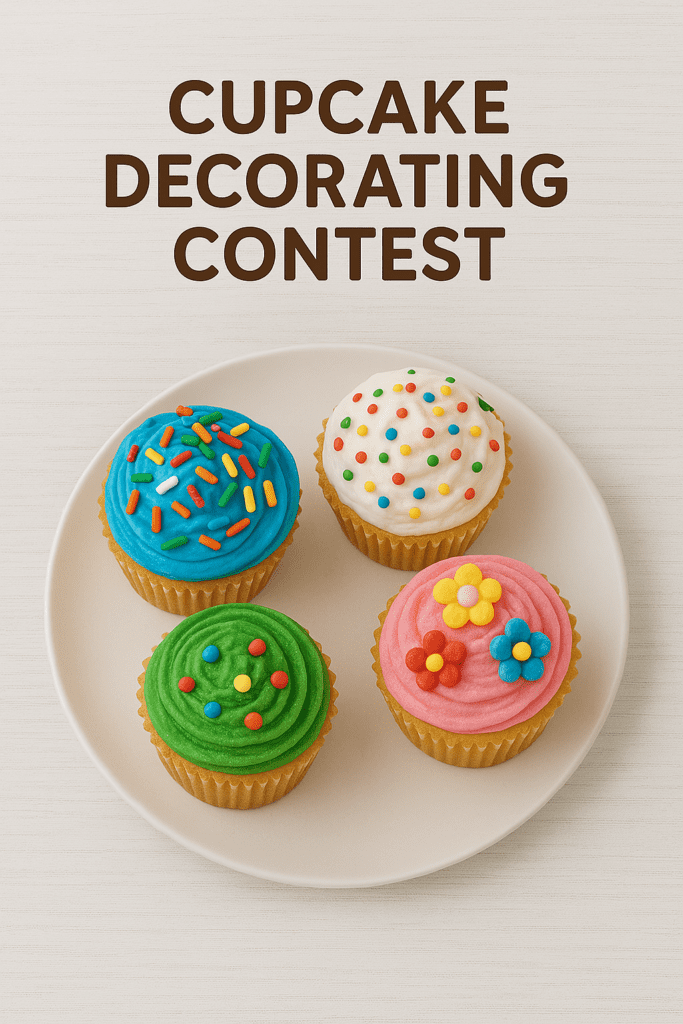
5. Cupcake Decorating Contest
Ages: 6+
Allergy Note: Use gluten-free cupcakes or vegan frosting if needed
Mess Level: High
Supplies Needed:
- Plain cupcakes
- Frosting in different colors
- Candy eyes, fruit, cereal, sprinkles
Instructions:
- Give each child one cupcake.
- Let them decorate however they want—monsters, animals, etc.
- Vote on categories (everyone wins).
Craft + Learn Tip: Let kids explain their “design process” like mini bakers.
Storage Tip: Store undecorated cupcakes in the freezer for a make-ahead option.
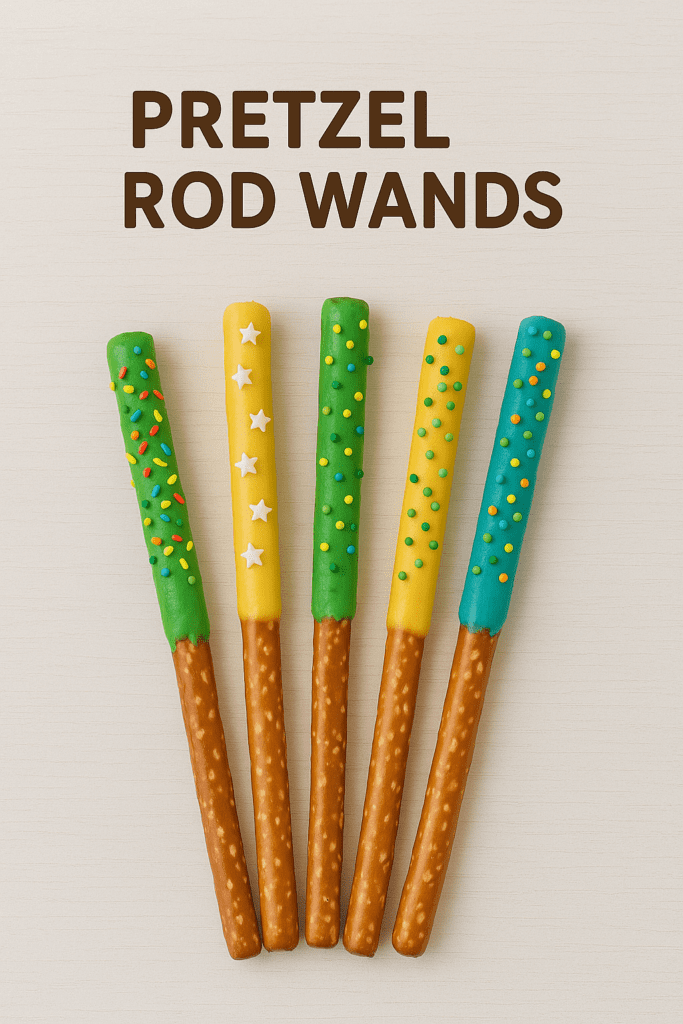
6. Pretzel Rod Wands
Ages: 3+
Allergy Note: Use allergy-safe chocolate
Mess Level: Medium
Supplies Needed:
- Pretzel rods
- Melted chocolate or candy melts
- Sprinkles, crushed cereal, mini marshmallows
Instructions:
- Dip pretzel rods halfway into melted chocolate.
- Roll in toppings and place on wax paper to dry.
- Use as edible “magic wands.”
Craft + Learn Tip: Talk about story characters or “spell ideas” as kids wave their wands.
Storage Tip: Store in airtight containers at room temp for 2–3 days.
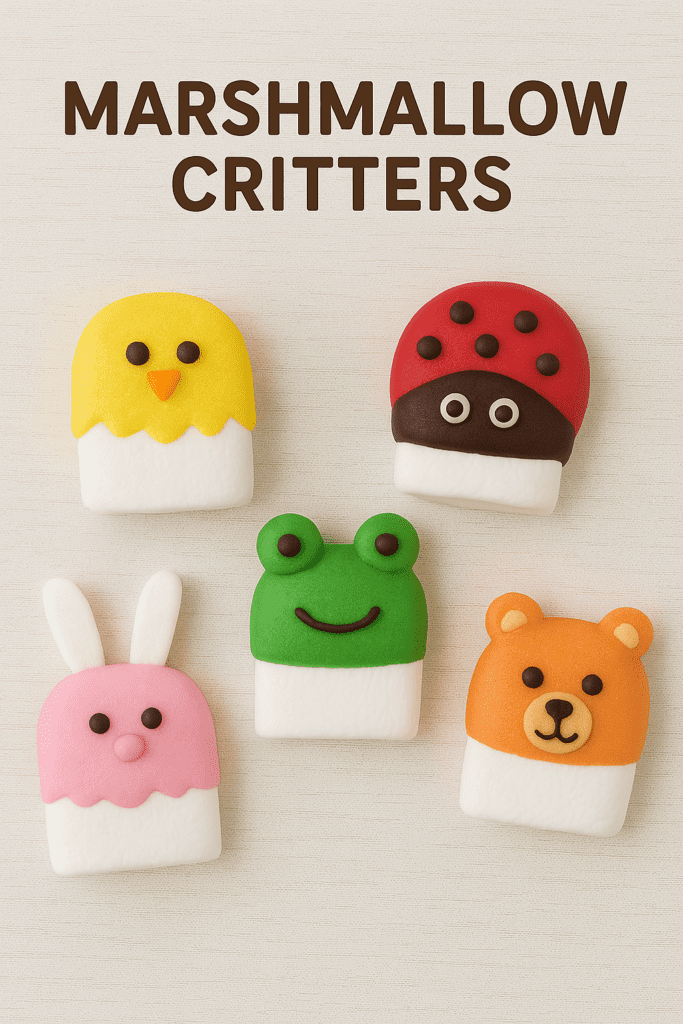
7. Marshmallow Critters
Ages: 3+
Allergy Note: Choose allergen-free candy bits
Mess Level: Low
Supplies Needed:
- Large marshmallows
- Food-safe markers or edible pens
- Mini chocolate chips, cereal, fruit leather
Instructions:
- Use edible pens to draw faces.
- Stick on ears, hats, or noses using icing or peanut butter.
- Pose them in silly scenes before munching.
Craft + Learn Tip: Turn it into a storytelling session—what’s your marshmallow’s name?
Storage Tip: Store in a cool place and eat the same day for best texture.
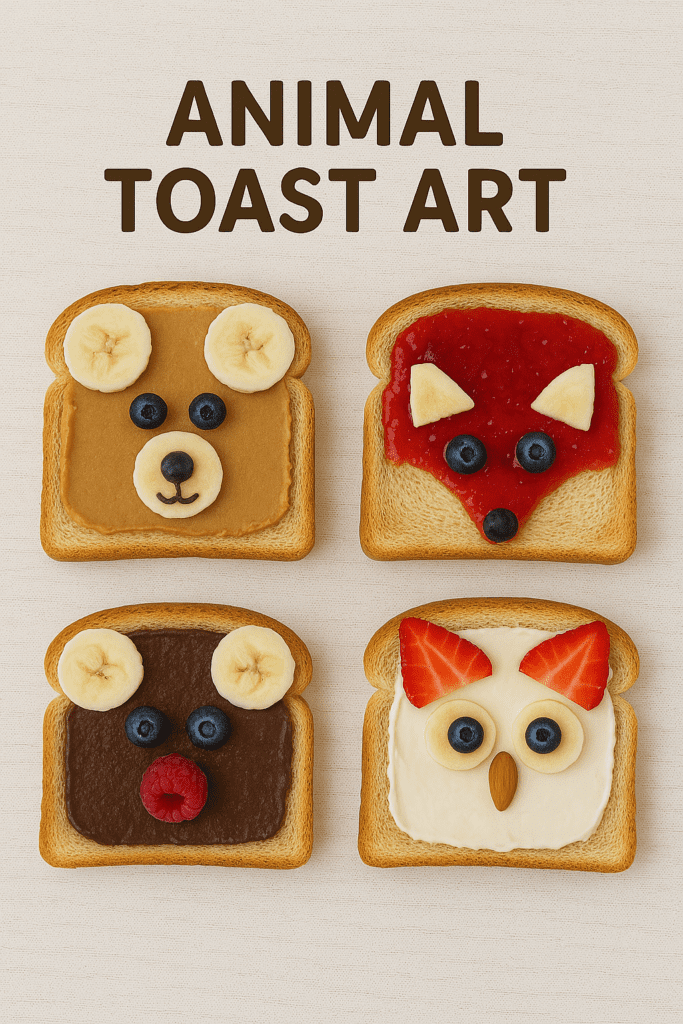
8. Animal Toast Art
Ages: 3+
Allergy Note: Use nut-free spreads as needed
Mess Level: Medium
Supplies Needed:
- Bread slices
- Nutella, cream cheese, or peanut butter
- Sliced fruit, berries, raisins
Instructions:
- Toast the bread.
- Spread the base and arrange fruit into fun characters.
- Take a photo before it disappears!
Craft + Learn Tip: Use this for a mini lesson in animal names and faces.
Storage Tip: Best eaten fresh!
Quick Comparison Chart
| Craft | Ages | Mess Level | Prep Time | Allergy Friendly? |
|---|---|---|---|---|
| Fruit Kabob Animals | 3+ | Low | 5 min | Yes |
| Gummy Candy Jewelry | 5+ | Medium | 10 min | Yes (check labels) |
| Mini Pizza Faces | 4+ | Medium | 10 min | Customizable |
| Cookie Decorating | All | High | 15 min | Customizable |
| Cupcake Decorating | 6+ | High | 10 min | Yes |
| Pretzel Rod Wands | 3+ | Medium | 5 min | Yes |
| Marshmallow Critters | 3+ | Low | 10 min | Yes |
| Animal Toast Art | 3+ | Medium | 5 min | Customizable |
Make It a Theme Party!
Here are three combos for edible craft days that double as parties:
- Candyland Party: Gummy jewelry, marshmallow critters, cookie decorating
- Animal Safari: Fruit kabob animals, toast art, cupcake creatures
- Pizza & Pretzels: Mini pizza faces and pretzel wands + juice mocktails
Parent Survival Tips
- Cover the table with kraft paper or a plastic tablecloth
- Use muffin tins for easy topping organization
- Hand wipes are your best friend
- Make them “earn” their snack—aka, clean up before eating
- Have aprons, or at least oversized t-shirts ready
Final Thoughts: Let It Be a Mess
Edible crafts aren’t about perfection. They’re about sugar-fueled giggles, sticky fingers, and sweet memories. So grab the sprinkles, snap a photo, and embrace the joyful chaos.