This post contains affiliate links, which means I may earn a small commission if you purchase through them — at no extra cost to you. I only recommend products I personally use and love.
Why This Guide Exists
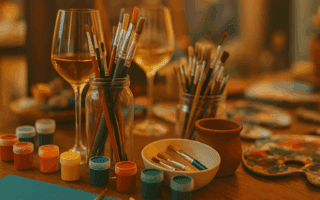
Craft nights sound simple: friends, supplies, creativity, fun.
But the reality? Half-finished projects, glue-gun burns, and someone asking where to put their dripping canvas.
This guide fixes all of that. Whether you host often or it’s your first DIY night, here’s how to make things smooth, social, and actually enjoyable.
The Quick-Start Template
Schedule (2.5–3 hours total):
- 0:00–0:15 | Arrival, drinks, overview
- 0:15–0:25 | Demo & safety notes
- 0:25–1:35 | Craft session 1
- 1:35–1:45 | Reset break + snack
- 1:45–2:25 | Craft session 2
- 2:25–2:40 | Photos + cleanup
Stick to this rhythm and everything runs on time.
Planning Timeline
7–10 Days Out
- Choose your craft (one main project only).
- Order supplies and build a per-person checklist.
- Confirm guests and note allergies or sensitivities.
3–5 Days Out
- Do a full test run using the exact materials.
- Adjust timing and list what needs pre-cutting or pre-painting.
- Choose food that won’t interfere with the craft.
Day Of
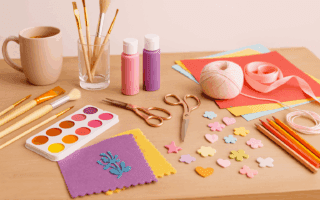
- Pre-kit each seat with tools, mats, and materials.
- Create a designated drying area.
- Put out one finished sample for reference.
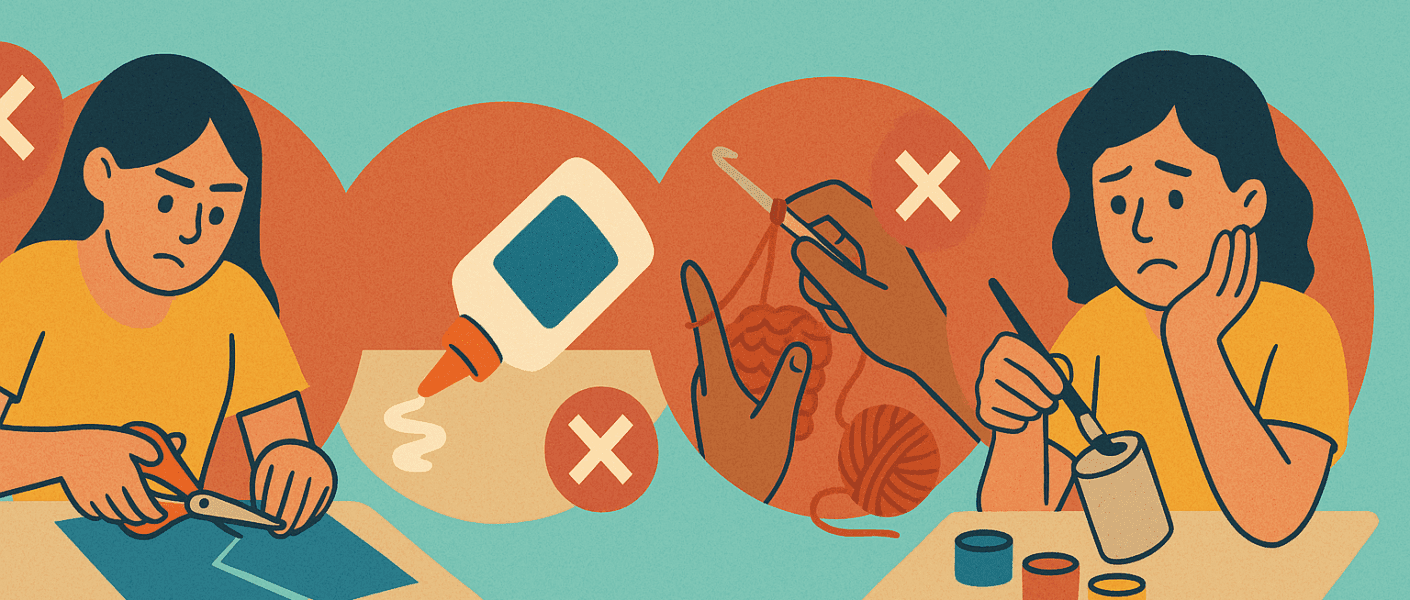
Common Mistakes and Fixes
1. Choosing Too Many Crafts
Problem: Trying to tackle multiple projects leads to confusion and clutter.
Fix: One project per night—two only if the second takes under 20 minutes.
For prep, use stackable craft bins to separate each person’s supplies. Label each bin with painter’s tape so setup takes minutes, not hours.
2. Skipping the Test Run
Problem: Tutorials can be misleading. A “30-minute craft” might take two hours.
Fix: Always do a full test first. You’ll spot confusing steps, drying times, and messy materials.
Keep a basic toolkit ready with reusable silicone craft mats and a reliable low-temp glue gun. Both make testing easier and protect your surfaces.
3. Underestimating Setup
Problem: You’re still unwrapping brushes when guests arrive.
Fix: Pre-portion everything. Each seat should have:
- Work mat or parchment
- Tools (brush, scissors, glue)
- Pre-measured materials
- Wipes or towels
A few multi-compartment trays keep each guest organized and reduce mid-craft chaos.
4. No Drying Zone or Staging Area
Problem: Everyone’s looking for a place to put their wet projects.
Fix: Set up a secondary surface before you start. Cover it with kraft paper rolls or old towels.
Label each project using washi tape so nothing gets mixed up.
5. Food and Drinks Too Close to the Craft Zone
Problem: Sticky fingers and smudged work.
Fix: Create separate “food” and “craft” areas.
Opt for bite-sized snacks and lidded drinks.
Keep stainless steel tumblers with lids on hand for wine or seltzer—less risk, same fun.
6. Poor Lighting
Problem: Guests can’t tell navy from black paint.
Fix: Add extra lamps or a ring light.
I use this clip-on ring light with adjustable brightness. It clips right to the table and keeps colors accurate without harsh glare.
7. Ignoring Comfort and Safety
Problem: Glue burns, stiff wrists, messy clothes.
Fix: Give a one-minute safety rundown before starting.
Provide aprons, wipes, and finger guards.
Bulk packs of disposable aprons and silicone finger protectors cost little but save a lot of frustration.
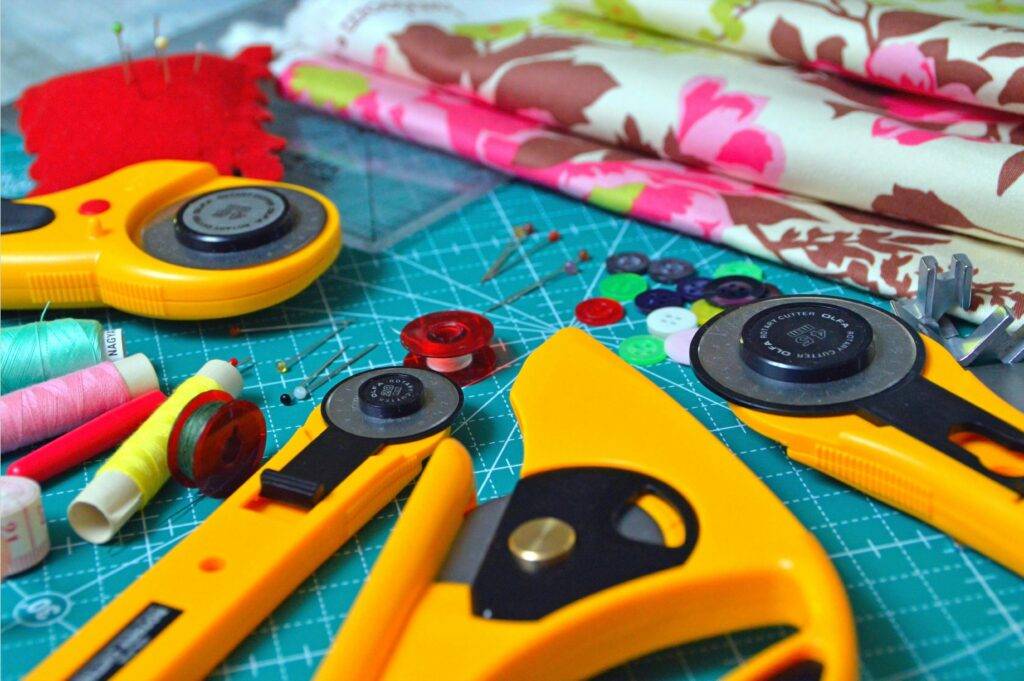
8. Buying Cheap Supplies
Problem: Paints crack, glue fails, and the results look flat.
Fix: Spend wisely—invest in the materials that make or break the craft:
- Quality paint pens or markers
- Strong adhesives
- Smooth-surface blanks
I love these oil-based paint pens for wood or ceramic—they don’t streak and hold color beautifully.
9. Not Labeling Projects
Problem: Whose mug is whose?
Fix: Hand out washi tape and markers before anyone starts.
Label cups, trays, and even brushes if they’ll be reused.
A pack of washi tape rolls lasts for months and makes labeling quick and cute.
10. Leaving Cleanup for the End
Problem: Dread and delay.
Fix: Schedule cleanup into the night.
At the midpoint, cap paints, wipe mats, move projects to dry.
End with a two-minute group tidy.
Keep a “cleanup caddy” with microfiber cloths, all-purpose wipes, and extra trash bags. It speeds up reset time dramatically.
Bonus Sections
Room Layout
Use a triangle flow:
Entry → Food Zone → Craft Table → Drying Zone → Exit.
Keep cords taped down and pathways clear.
Budgeting
Set a per-person cap ($8–$12 for most crafts).
Split bulk supplies and reuse non-consumables like mats and brushes.
Stackable storage boxes make it easy to store leftovers for next time.
Accessibility
Offer low-fine-motor options like peel-and-stick decorations.
Keep scents minimal and include thicker-grip tools for comfort.
The Reusable Checklists
Supply Checklist:
- Work mats (silicone or vinyl sheets)
- Glue gun + sticks (low-temp mini gun)
- Brushes, scissors, wipes
- Drying surface protection (kraft roll)
- Labels (washi tape set)
- Power strips, trash bags, aprons, and clips
Host Script:
- Welcome guests, explain setup.
- Show sample project.
- Review safety note.
- Time expectations.
- Where to place finished work.
Troubleshooting at a Glance
| Problem | Cause | Fix | Next Time |
|---|---|---|---|
| Paint streaks | Too thick / not dry | Light sand + second thin coat | Build drying block |
| Glue fails | Wrong adhesive | Use craft-specific glue | Test in advance |
| Smudged lettering | Oils / impatience | Clean, repaint, seal | Add hand-clean check |
| Takes too long | Too complex | Simplify or skip steps | Pick 3-step project |
| Guests confused | No guide | Step cards at each seat | Visual instructions |
Photography Tips
Take 3 photos total:
- Table before guests arrive
- Candid hands-at-work shot
- Finished projects on the drying table
Good lighting matters more than posing.
Clean-Up in Minutes
- Cap and store all materials.
- Roll up the table cover with debris inside.
- Collect tools into a dishpan for later washing.
- Wipe surfaces and sweep floors.
- Take one final “after” photo for memories (and Pinterest).
Wrap-Up Thought
A great craft night isn’t perfect — it’s peaceful, organized, and full of laughter.
Set the tone, plan the flow, and use tools that make your life easier.
The crafts dry. The glue holds. The memories stick.