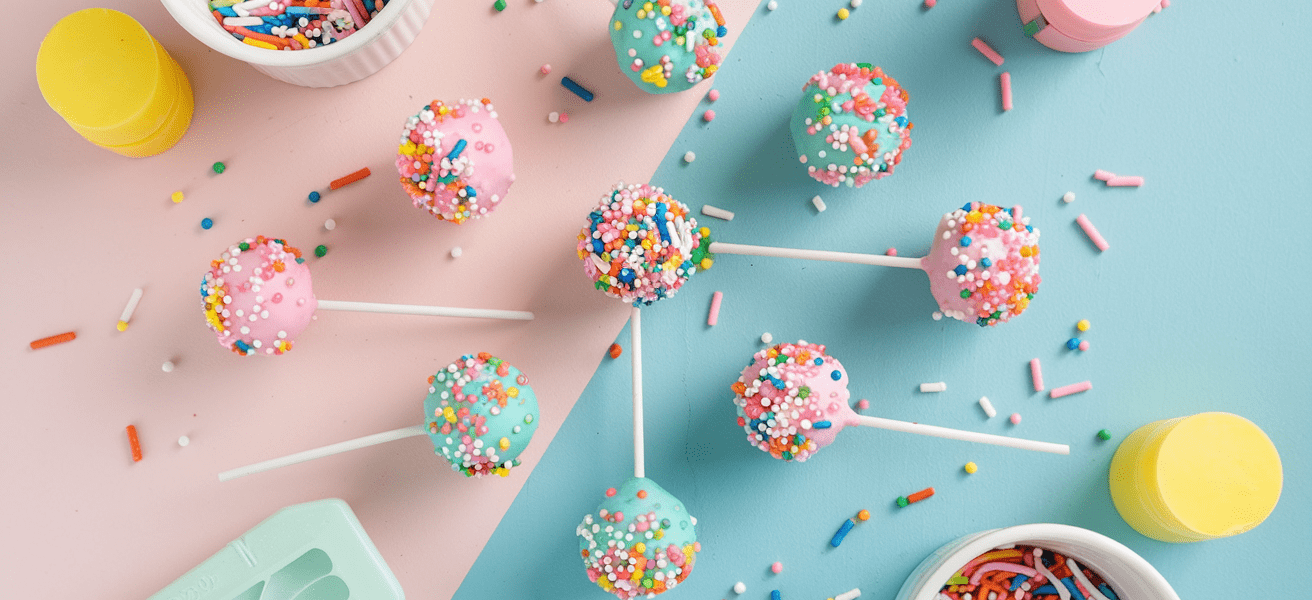
Cake pops are little bites of happiness on a stick.
They’re cute, customizable, and surprisingly easy to make once you know the steps.
Whether prepping for a birthday party, a baby shower, or just craving something sweet, this tutorial covers you. And don’t worry—no fancy baking skills are required!
Let’s break it down step by step so you can whip up these adorable treats in your kitchen.
What You’ll Need
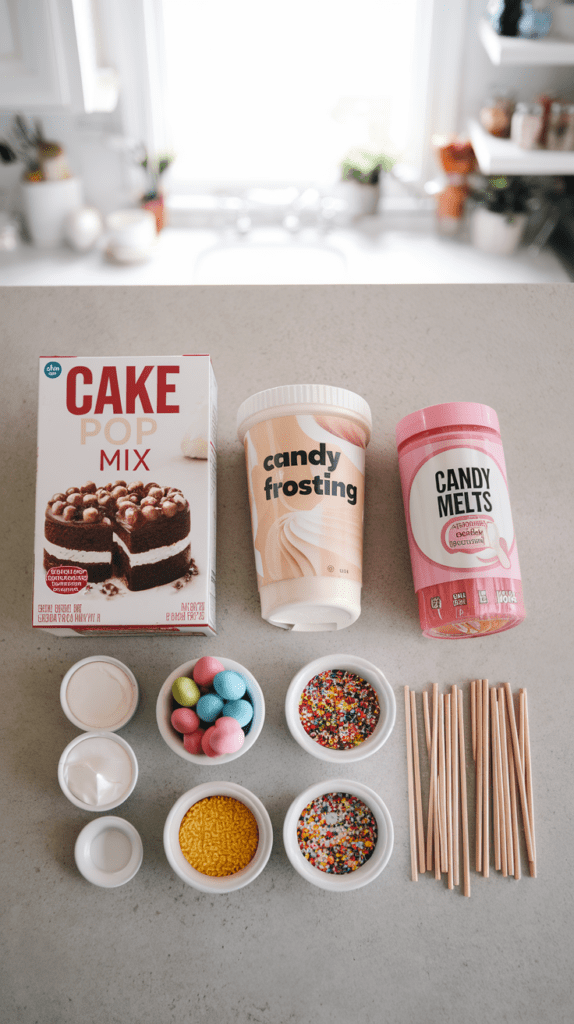
Ingredients
- 1 box of cake mix (plus eggs, oil, and water as listed on the box)
- 1 tub of frosting (any flavor you like)
- Candy melts or chocolate chips for coating
- Sprinkles or toppings (optional but highly encouraged)
- Lollipop sticks
Supplies
- 9×13-inch baking pan
- Large mixing bowl
- Fork or spatula
- Cookie scoop or spoon
- Parchment paper
- Microwave-safe bowl
- Styrofoam block or tall cup (for drying pops upright)
Step 1: Bake the Cake
Start by baking your cake according to the directions on the box.
Any flavor works—vanilla, chocolate, red velvet, funfetti—whatever makes you smile.
Once it’s baked, let it cool completely. Seriously. Don’t rush this part, or you’ll end up with a sticky mess later.
Pro Tip:
You can bake a cake from scratch if you want a more homemade feel. But a boxed mix keeps things easy and consistent, especially for beginners.
Step 2: Crumble the Cake
Once your cake is completely cool, break it into pieces and crumble it into a large bowl.
Use your clean hands, a fork, or even a food processor if you feel fancy. You’re aiming for a fine breadcrumb-like texture—no big clumps!
This part is oddly satisfying. Trust the process.
Step 3: Add the Frosting
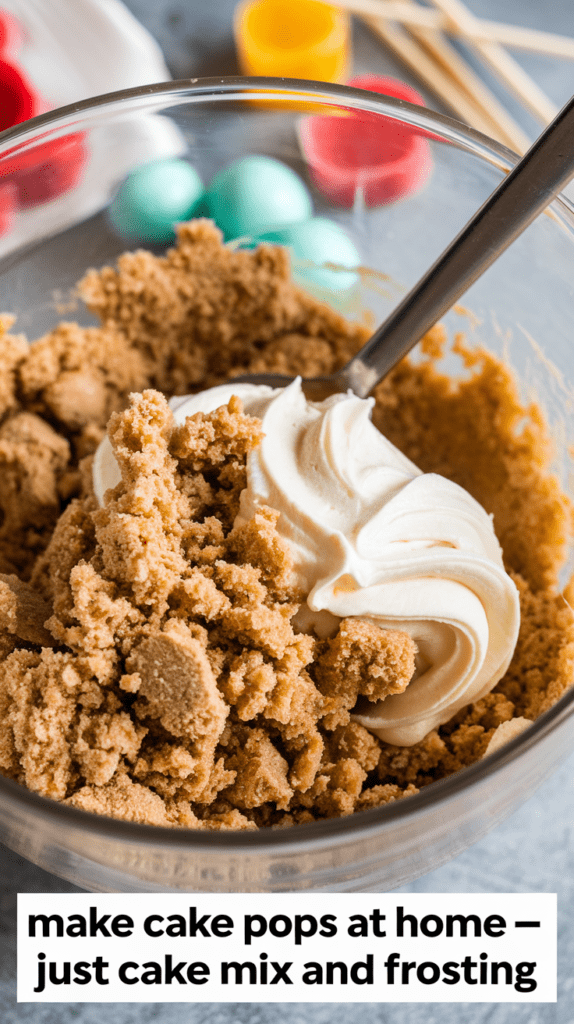
Time to make the “dough.”
Add about half a tub of frosting to your cake crumbs. Mix it all together with a spoon or spatula until it forms a thick, pliable dough.
You want the mixture to be moist enough to hold its shape but not overly sticky or wet. Start with half the frosting, then add a little more if needed.
Pro Tip:
Cream cheese frosting works great with red velvet, while vanilla pairs well with funfetti or lemon cake. Mix and match for flavor fun!
Step 4: Roll Into Balls
Now it’s time to shape your pops!
Use a cookie scoop or spoon to portion out your dough. Roll each portion into a 1-inch ball using your hands.
Place the cake balls onto a parchment-lined tray. Once all your balls are rolled, pop the tray into the fridge (or freezer) for 15–30 minutes. This helps firm them up and makes them easier to dip later.
You should get about 24–30 cake pops from one box of cake mix.
Step 5: Insert the Sticks
Next, melt a small amount of candy melts or chocolate in a microwave-safe bowl. Dip the tip of each lollipop stick into the melted coating, then insert it halfway into a cake ball.
This little trick helps the stick stay in place once the coating sets.
Stick the tray back in the fridge for 10 more minutes to let the coating firm up.
Step 6: Dip and Decorate
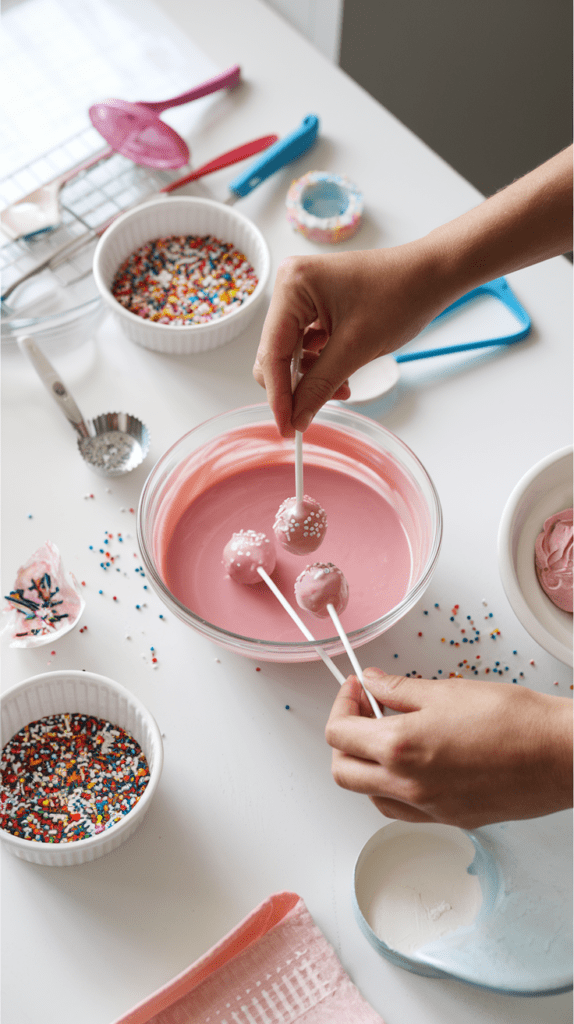
This is where the magic happens!
Melt your candy coating according to the package instructions. You can use a mug or deep bowl to make dipping easier.
Dip each cake pop into the melted coating, gently swirling to fully cover the cake ball. Let any excess coating drip off.
Before the coating dries, quickly add sprinkles, crushed cookies, mini chocolate chips, or whatever toppings you love.
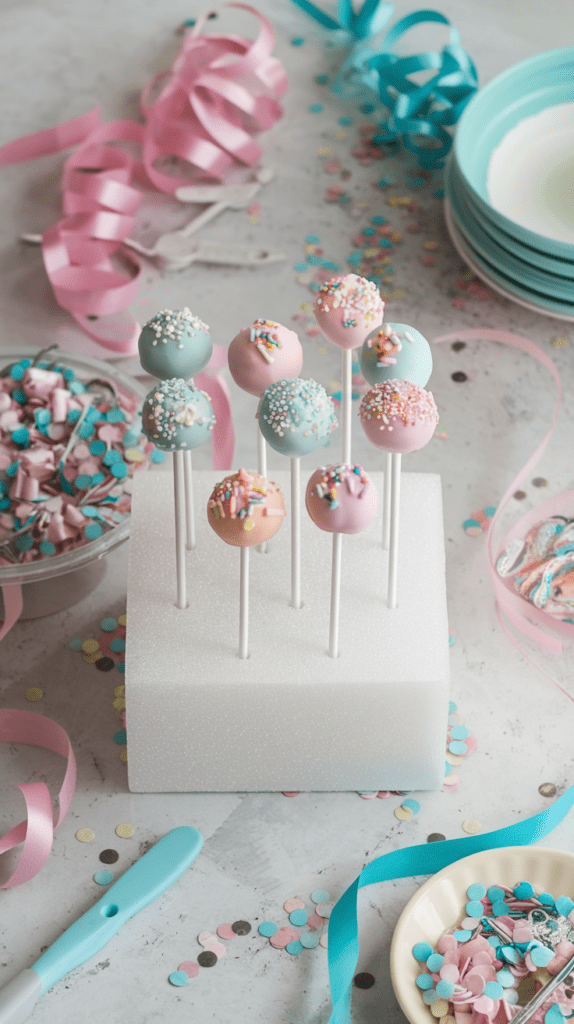
Place the dipped pops upright in a Styrofoam block or tall cup to dry. Let them sit until the coating is completely hardened.
Troubleshooting Tips:
- If your coating is too thick, stir in a teaspoon of coconut oil or shortening to thin it out.
- If your cake pops crack after dipping, they may be too cold. Let them sit at room temp for 5 minutes before dipping.
Step 7: Let Them Set and Enjoy!

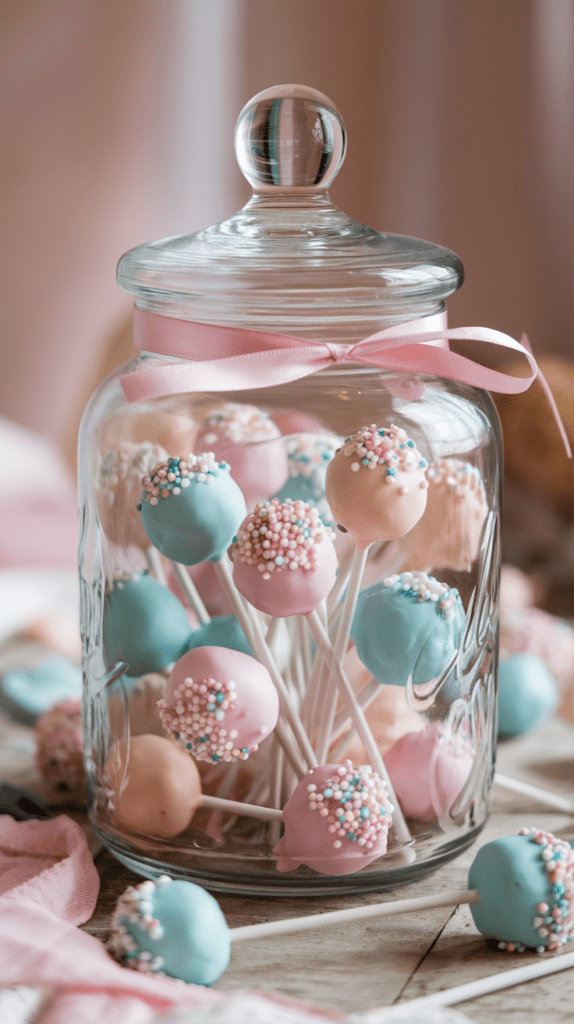
Once the coating has fully hardened, your cake pops are ready to enjoy!
They make perfect party treats, dessert table stars, or sweet gifts wrapped in cellophane bags with a ribbon.
Store them in an airtight container at room temperature for 3 days, or in the fridge for up to a week.
Decorating Ideas for Cake Pops
- Birthday Bash: Bright sprinkles and colorful candy melts.
- Baby Shower: Use pink or blue coating with white pearl sprinkles.
- Holiday Themes: Red and green for Christmas, orange and black for Halloween, pastel for Easter.
- Classy Vibes: Drizzle with white chocolate and add edible gold dust.
Don’t be afraid to get creative. Cake pops are basically edible crafts!
Why Cake Pops Are the Best
Besides being adorable, cake pops are:
- Portion-controlled (you can have one… or five)
- Fun to make with kids
- Great for using up leftover cake
- Customizable for any event or craving
And let’s be honest—they’re just more fun to eat on a stick.
Common Cake Pop Questions
Can I make cake pops ahead of time?
Absolutely! You can bake the cake, roll the balls, and store them in the fridge for up to 2 days before dipping.
Do I need a cake pop mold?
Nope! Rolling by hand works just fine. But if you have one, go ahead and use it.
What if I don’t have candy melts?
You can use chocolate chips or almond bark instead. Just add a little coconut oil to help with the dipping.
You Did It!
There you go—you just learned how to make cake pops!
Whether you’re making them for a celebration or a random Tuesday night, these little treats are guaranteed to bring smiles.
So go ahead and get your cake pop on. And if you end up with frosting on your face? That means you’re doing it right.