Got five minutes? Then you’ve got time to create something fun!
Whether you’re a busy mom, a creative soul in a time crunch, or just bored and want to make something with your hands, these crafts are quick, easy, and seriously satisfying.
Let’s dive into some DIY magic that won’t eat up your whole day.
1. Washi Tape Bookmarks

Perfect for readers and crafters alike. Just grab some cardstock and washi tape, and you’ve got yourself a custom bookmark.
Supplies:
- Cardstock
- Washi tape
- Scissors
- Hole punch (optional)
- Ribbon (optional)
How to Make It:
- Cut cardstock into a bookmark shape (around 2” x 6”).
- Decorate with strips of washi tape in fun patterns.
- Trim the edges and punch a hole at the top (optional).
- Add ribbon or twine for flair.
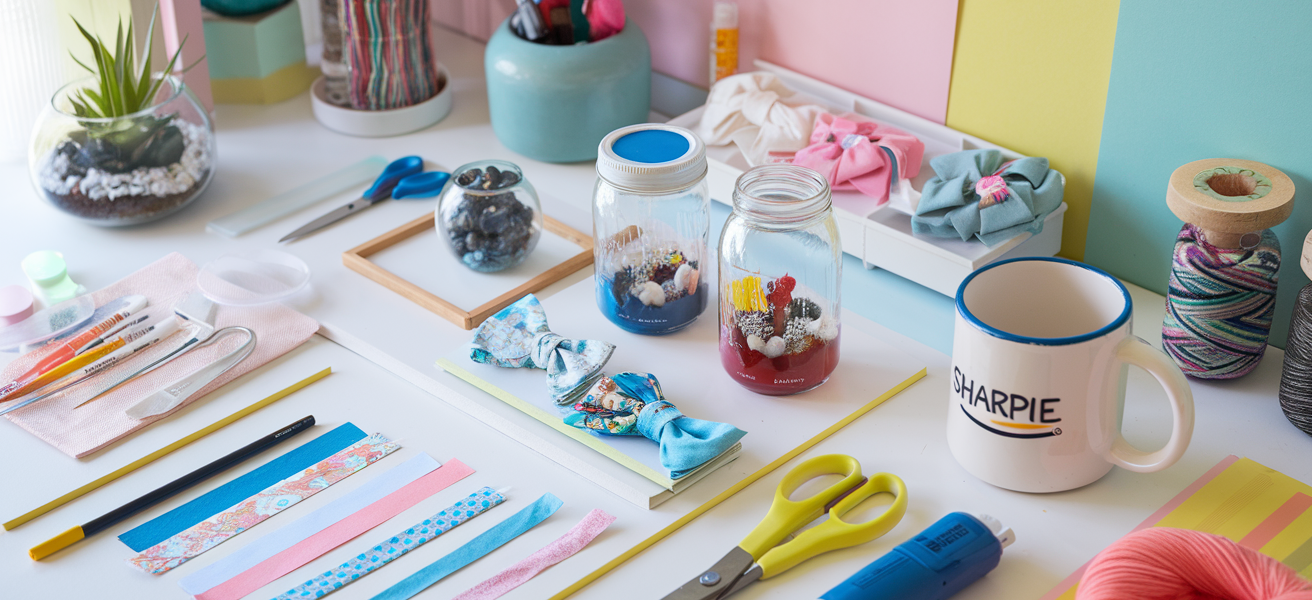
Visualize It:
A colorful stack of slim bookmarks lies across a desk—each one a different combo of floral, striped, and polka-dot washi tape. A soft ribbon peeks out from the top of one, while scissors and scattered tape rolls add a playful, crafty vibe.
2. Painted Mason Jars
Add charm to any shelf or desk. All you need is a jar and some acrylic paint.
What You Need:
- Mason jars
- Acrylic paint
- Foam brush
- Optional: twine, labels, flowers
How to Make It:
- Use a foam brush to paint the outside of the jar.
- Let dry, and apply a second coat if needed.
- Decorate with twine, labels, or flowers.
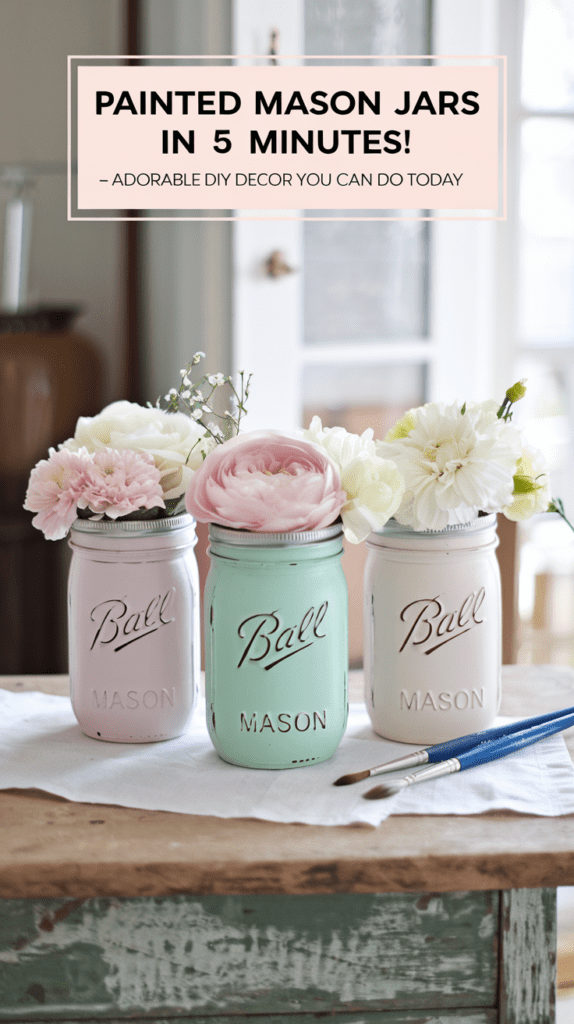
Visualize It:
Three pastel-painted mason jars sit on a weathered wooden tray, each filled with delicate wildflowers. One jar is wrapped with twine, and a tiny chalkboard label dangles from another. The look is cozy, calm, and Pinterest-ready.
3. No-Sew Fabric Bows
No needle? No problem. These are adorable for hair accessories or gift wrapping.
What You Need:
- Fabric scraps
- Scissors
- Hot glue gun
- Optional: ribbon or clips
How to Make It:
- Fold the fabric into thirds and glue in place.
- Pinch the center and wrap it with a narrow strip of fabric.
- Glue the center strip and attach it to clips or gifts.
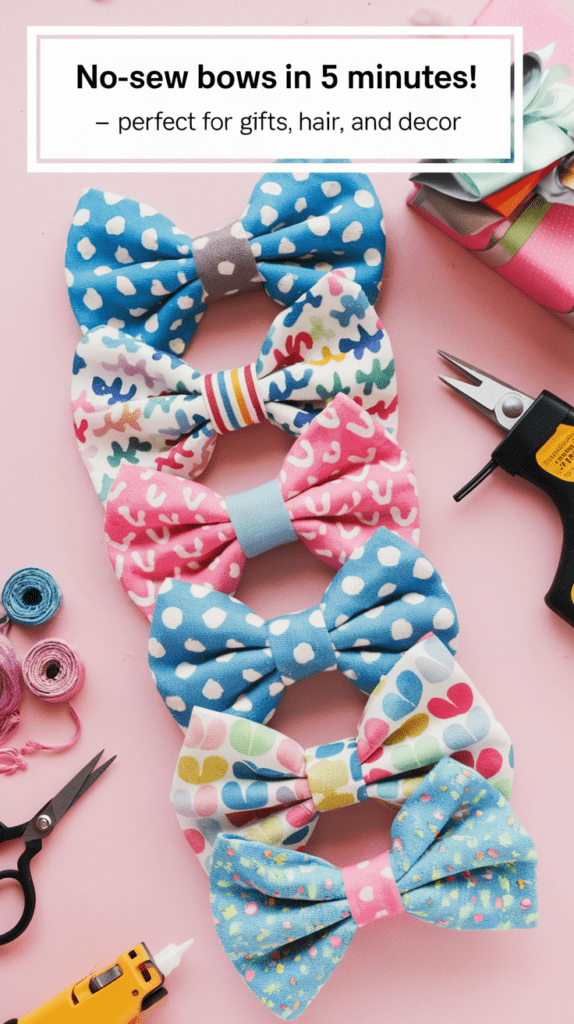
Visualize It:
A handful of adorable bows in gingham, polka dots, and florals lay across a soft, blush background. One bow rests on a wrapped gift, while others are clipped to a display card, ready to wear or share.
4. Scrapbook Paper Envelopes
Snail mail just got an upgrade. Make fun envelopes using scrapbook paper or even magazine pages.
What You Need:
- Scrapbook paper or magazine pages
- Glue stick or double-sided tape
- Scissors
- Envelope template (optional but helpful)
- Pen or sticker for sealing (optional)
How to Make It:
- Use an envelope template or carefully open an existing envelope to trace its shape on your scrapbook paper.
- Cut out the traced shape.
- Fold in the side flaps, then the bottom flap, and glue/tape them together.
- Leave the top flap open so you can insert your letter, card, or note.
- Once filled, seal it with a sticker, washi tape, or a dab of glue.
Visualize It:
A stack of handmade envelopes in vibrant floral and geometric scrapbook paper patterns sits on a clean desk, surrounded by cut paper scraps, scissors, and a glue stick. A few envelopes are sealed with heart-shaped stickers, while one peeks open with a note inside—ready to brighten someone’s day.
5. DIY Stress Balls
Need to squeeze something? Make your own stress ball in minutes!
What You Need:
- Balloon
- Rice or flour
- Funnel
- Marker
How to Make It:
- Stretch the balloon and fill it with rice using a funnel.
- Tie off the balloon.
- Draw a face or design with a marker (optional).
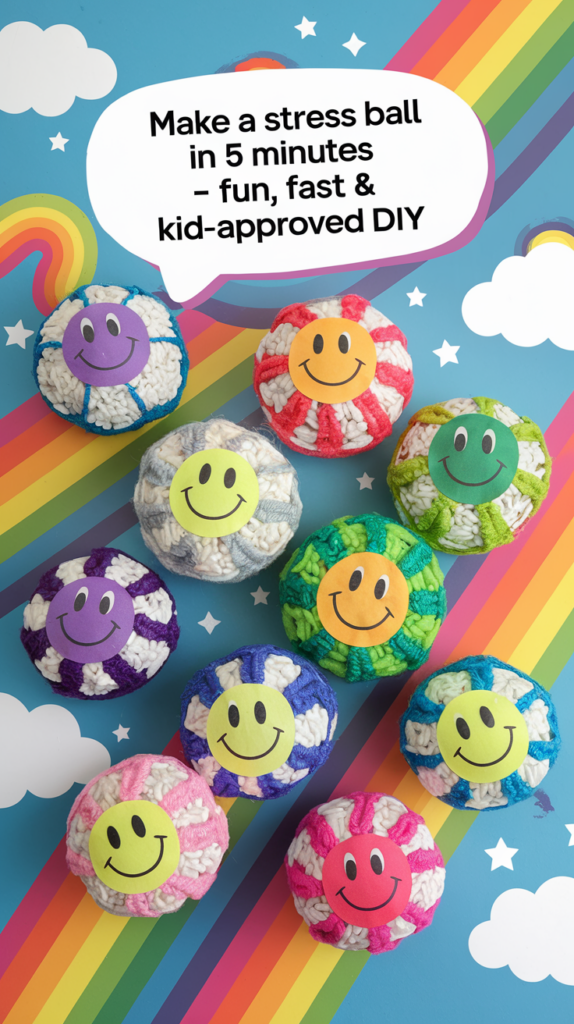
Visualize It:
Bright, squishy balloons with goofy grins and expressive faces are gathered in a bowl on a desk. One is mid-squeeze, showing its plump round shape and playful personality. It’s equal parts silly and satisfying.
6. Personalized Mugs (Sharpie Hack)
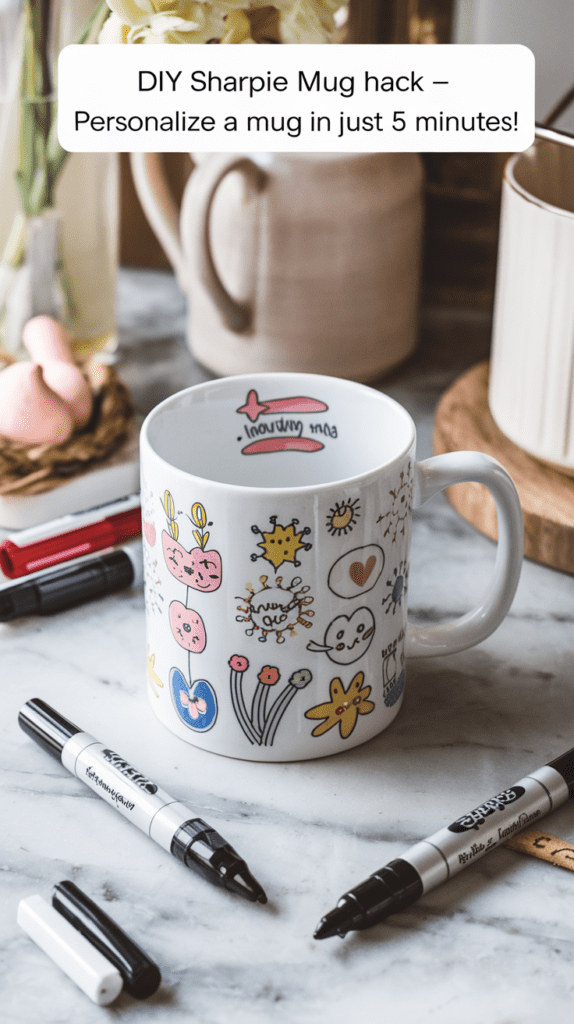
Write a message or doodle on a plain mug with an oil-based Sharpie, then bake it to set.
What You Need:
- White ceramic mug
- Oil-based Sharpie
- Oven
How to Make It:
- Draw your design on the mug.
- Place in a cool oven, heat to 350°F, and bake for 30 minutes.
- Let cool in the oven before using.
Visualize It:
A white ceramic mug sits on a marble counter with handwritten words like “But First, Coffee” in bold black Sharpie. Doodles of stars and hearts trail along the handle—a cozy throw blanket and journal peek in the background.
7. Mini Terrarium in a Jar
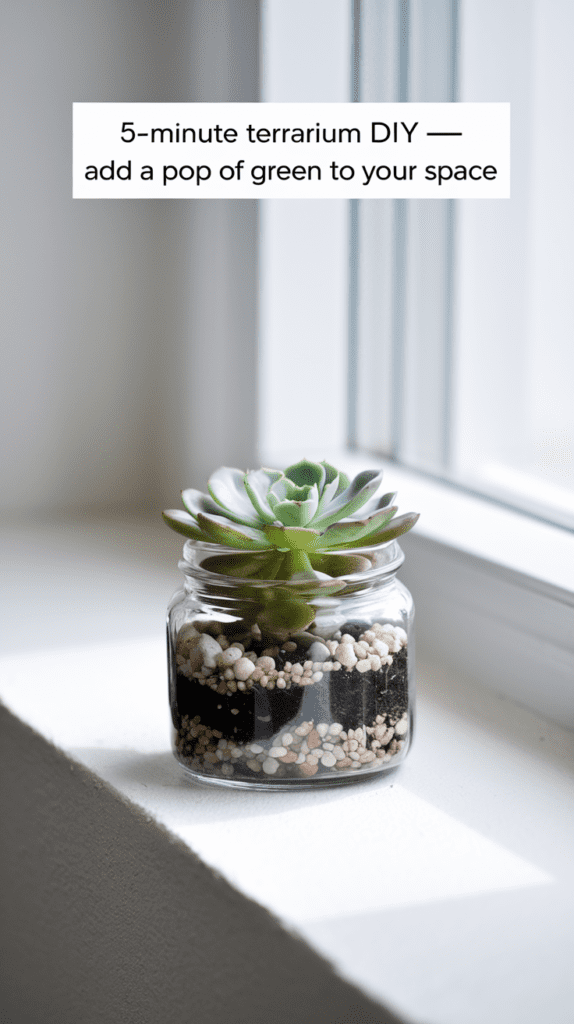
Bring a little green to your space with a DIY terrarium.
What You Need:
- Small glass jar
- Pebbles
- Soil
- Mini succulent or faux plant
How to Make It:
- Add pebbles to the jar.
- Layer with a scoop of soil.
- Place the plant gently into the center.
- Optional: Add moss or mini stones for detail.
Visualize It:
A tiny glass jar houses a single rosette succulent nestled in rich soil over smooth pebbles. Soft green moss fills the edges. Sunlight filters through the glass, casting a calming glow—like a tiny world in a jar.
8. Yarn-Wrapped Letters

Decorate your initials or spell out a word!
What You Need:
- Cardboard or wooden letters
- Yarn
- Glue
- Scissors
How to Make It:
- Secure the end of the yarn with glue.
- Wrap tightly around the letter until fully covered.
- Finish with glue to hold the end in place.
Visualize It:
Chunky yarn in soft neutral colors is wrapped snugly around cardboard letters spelling “HOME.” They sit on a white shelf next to candles and plants, adding warmth and personality to the room.
9. DIY Coasters
Use cork circles or ceramic tiles to make custom coasters in minutes.
What You Need:
- Cork or tile base
- Scrapbook paper or napkins
- Mod Podge
- Brush
How to Make It:
- Cut paper to fit your base.
- Apply Mod Podge to attach it, then seal the top with more.
- Let dry completely.
Visualize It:
A set of trendy coasters featuring watercolor florals, geometric prints, and vintage maps rests on a coffee table. A cup of tea steams nearby, making the scene feel cozy, stylish, and handmade.
10. Clothespin Photo Holders
Display pics or quotes with this sweet little project.
What You Need:
- Twine
- Clothespins
- Printed photos or quotes
- Wall-safe hooks
How to Make It:
- Hang twine on a wall using hooks or tape.
- Clip on your photos or quotes with clothespins.
- Add fairy lights or embellishments if desired.
Visualize It:
A twine string stretches across a wall, with tiny clothespins holding Polaroid-style photos and handwritten quotes. Warm string lights are woven between them, giving them a soft, personal touch.
Why Quick Crafts Are the Best
- Instant Gratification: You made a thing! In minutes! Go you.
- Perfect Break Activity: Great way to relax between meetings or chores.
- Minimal Supplies: Most use things you already have around the house.